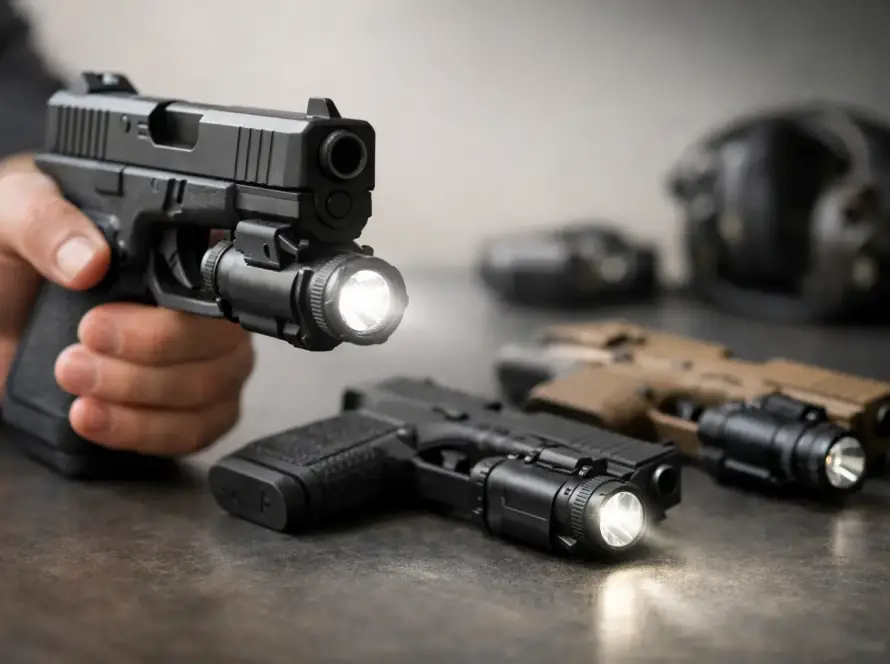
A pistol-mounted red dot can make target-focused shooting faster, especially once the pistol is properly set up and the shooter has put in honest range time. But a red dot is not a shortcut around fundamentals. This pistol red dot guide covers the decisions that matter before you buy, mount, zero, and carry an optic-equipped handgun.
For a defensive pistol, the goal is simple: a sighting system that stays mounted, holds zero, remains visible in changing light, and works with your holster and carry routine. For range and competition use, window size, controls, and dot selection may take priority. The right answer depends on how the handgun will actually be used.
Start With the Pistol and Mounting Footprint
Do not choose an optic before confirming how your slide is cut. Many optics-ready pistols use a factory mounting system with adapter plates. Others are direct-milled for a specific footprint. The footprint determines which optics can mount correctly, and it is not something to guess at from product photos.
Common footprints vary in screw location, recoil lug position, overall length, and screw size. An optic may look like it fits the slide but still lack proper recoil engagement or use screws that are too long or too short. That can lead to loose hardware, damaged threads, or an optic that shifts under recoil.
Check your pistol manufacturer’s instructions for approved plates, screw specifications, and torque guidance. If your slide uses a plate, inspect the plate fit as carefully as the optic fit. A quality optic mounted to a poor-fitting plate is still a weak setup.
For pistols that are not optics-ready, professional slide milling can provide a lower, more secure direct mount. It also commits that slide to a particular footprint, so choose based on long-term needs rather than the first sale you find.
Choosing a Red Dot for the Job
A carry optic needs a different balance of features than a competition optic. Large-window models make dot acquisition easier and provide more visual information during rapid transitions, but they add bulk and can complicate concealment. Compact enclosed optics generally offer better protection from rain, lint, sweat, and debris, though window size may be smaller.
Open-emitter optics remain common because they are compact and widely available. Their exposed emitter can collect debris in harsh conditions, however. Enclosed-emitter designs protect the emitter inside the housing and are often worth consideration for daily carry, field use, or duty-focused setups.
Battery access matters too. A top- or side-loading battery tray lets you replace the battery without removing the optic. Bottom-loading models can be dependable, but removing the sight may require checking zero afterward. Features are only useful when they support your maintenance routine.
Dot Size: 2 MOA, 6 MOA, or More?
Dot size is a practical choice, not a status symbol. A smaller dot, such as 2 MOA, allows more precise aiming at distance and can work well for shooters who want a fine reference on small targets. A larger 6 MOA dot is quicker for many shooters to pick up during close-range defensive drills.
At typical handgun distances, a larger dot does not prevent accurate center-mass hits. It can be easier to see under stress, in bright outdoor light, or when working through a fast presentation. Shooters with astigmatism should handle and test different reticles when possible. A dot that looks round and clear to one person may appear like a starburst or smear to another.
Brightness controls should be simple enough to use without hunting through buttons. The dot must be bright enough to stand out against a light target outdoors, but not so bright that it blooms and covers too much of the target. Auto-adjust settings can be convenient, but manual override is valuable when lighting changes faster than the optic can react.
Mount It Correctly or Do Not Mount It Yet
Mounting an optic is a mechanical job, not an opportunity to improvise. Start with a clean slide, clean mounting surface, and correct screws. Confirm that the screws do not bottom out in the slide or protrude into critical internal areas. Use the manufacturer’s specified torque value and any recommended thread locker exactly as directed.
Overtightening can strip slide threads, damage screws, or distort a mounting plate. Undertightening can let the optic move under recoil. Either problem can show up as a wandering zero that gets blamed on ammunition or shooter technique.
After installation, visually inspect the optic from the side and rear. It should sit squarely, with no visible gap between mounting surfaces. Cycle the slide by hand, confirm normal function, and verify that your holster fully clears the optic, rear sight, and any taller backup sights.
If your carry pistol wears an optic, dry practice the draw with an unloaded firearm in a safe direction. Pay attention to clothing clearance and whether the holster retains the pistol correctly. An optic-ready slide does not automatically mean every existing holster will work.
Zeroing Your Pistol Red Dot
A practical pistol red dot guide should be clear about one point: zero distance is a choice, not a universal rule. A 10-yard zero is easy to confirm and useful for close-range defensive work. A 15- or 25-yard zero can provide a more versatile reference for shooters who train at longer distances.
For most carry and general-purpose handguns, 15 yards is a sensible starting point. It is far enough to expose major errors in mounting or technique while remaining manageable on most indoor and outdoor ranges. If your local range only allows shorter distances, zero at 10 yards and confirm point of impact farther out when possible.
Use a stable support for the initial zero. This is not cheating. The purpose is to separate sight adjustment from the movement in your normal offhand shooting. Fire deliberate groups with the ammunition you expect to use most often, then adjust according to the optic’s instructions.
Once the pistol is zeroed, verify it from a normal standing position. Shoot at close range and at the farthest distance relevant to your use. A defensive optic does not need benchrest precision, but you should know where the rounds land at 5, 10, 15, and 25 yards.
Use Backup Sights the Right Way
Suppressor-height iron sights can provide a visible co-witness through many pistol optics. They are useful as a backup if the optic is damaged, obscured, or out of battery. They can also help during the learning phase by giving the shooter a reference when the dot is not immediately in the window.
That said, iron sights should not become the primary focus when using a red dot. The value of the optic is target focus. On presentation, bring the pistol to your eye line, look at the target, and let the dot appear in your field of view. Chasing the dot by moving the pistol around wastes time and creates inconsistent presentations.
A lower-third co-witness often keeps the iron sights available without crowding the optic window. Exact sight height depends on the slide cut, optic body, and the shooter’s preference.
Train the Presentation, Not Just the Trigger Pull
Most red-dot problems are presentation problems. Shooters accustomed to iron sights may initially lose the dot because the pistol arrives too high, too low, or at an inconsistent angle. The fix is repeatable practice, not constantly changing optic brightness or buying another mount.
Begin with slow dry-fire presentations using an unloaded pistol. Establish a consistent grip, bring the pistol straight to eye level, and watch for the dot to enter the window naturally. If it is missing, diagnose the angle of the pistol rather than fishing for it with your wrists.
At the range, start with controlled pairs from low ready and then from the holster where permitted. Add movement, reloads, target transitions, and one-handed shooting only after the basic presentation is reliable. Maintain the same grip pressure and recoil control you use with iron sights. The dot gives feedback: if it tracks wildly during recoil, the pistol and grip are telling you something.
Carry, Maintenance, and Reality Checks
A red dot on a defensive handgun needs routine inspection. Check mounting screws, lens condition, brightness setting, and battery status before range sessions and on a regular carry schedule. Replace batteries on a planned interval rather than waiting for failure, even if the optic claims years of continuous runtime.
Lint and moisture can collect around the window, especially on concealed carry pistols. Wipe the lens with appropriate cleaning materials and inspect the emitter area. Avoid treating an optic as fragile, but do not use a dirty shirt or abrasive material that can scratch coated glass.
Finally, verify zero after hard use, a significant impact, a mounting change, or extended shooting. Your optic is part of the pistol’s operating system. Set it up with the same care you give ammunition selection, holster fit, and safe handling, then train until the dot appears without thought when the pistol comes on target.