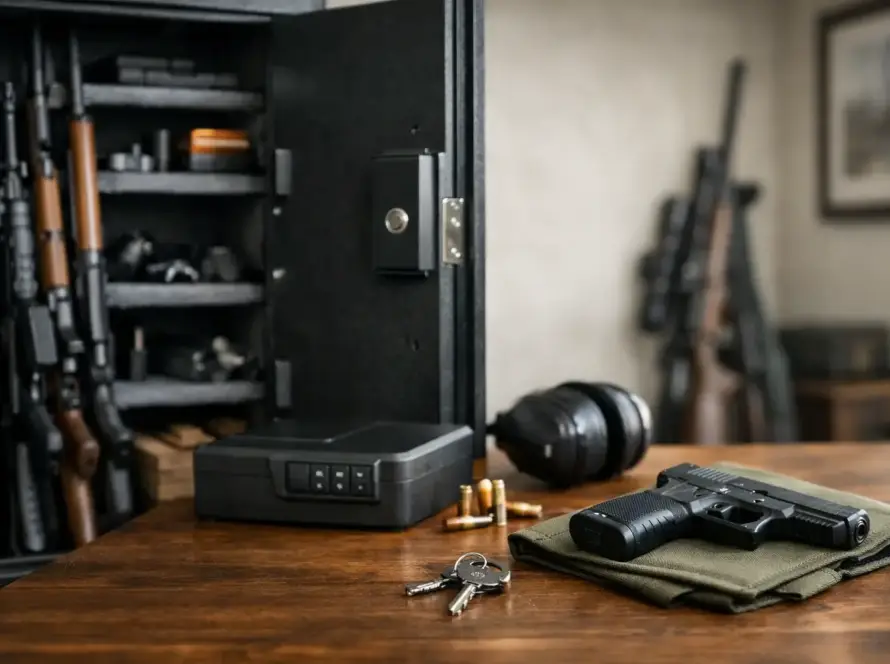
A scope that is loose, crooked, or mounted at the wrong eye relief can turn good ammunition and a capable rifle into a frustrating range day. Learning how to mount rifle scope correctly is not complicated, but the order of operations matters. Set the rifle up safely, use compatible hardware, torque it to spec, and confirm the reticle is level before you chase zero.
Before any work begins, unload the firearm completely. Remove the magazine, open the action, and physically and visually verify the chamber is empty. Keep ammunition off the bench while mounting and adjusting the optic.
Start With Compatible Bases, Rings, and Scope
A solid mount begins with parts that match the rifle and the optic. The base or rail must fit your receiver pattern, and the rings must match both the rail system and the scope tube diameter. Most modern scopes use 1-inch, 30mm, 34mm, or 35mm tubes. A 30mm scope will not mount correctly in 1-inch rings, even if it appears close.
Ring height is the next decision. You need enough clearance for the objective bell, lens cap, and rifle barrel, but excessive height creates its own problems. A scope mounted unnecessarily high can make a consistent cheek weld harder to achieve. The practical goal is the lowest ring height that clears the rifle and allows a natural, repeatable position behind the optic.
Stock design, objective size, barrel contour, and whether you use a one-piece base all affect ring height. A traditional hunting rifle with a 40mm objective may work with low rings. An AR-pattern rifle often needs a cantilever mount that places the optic forward and at the correct height for its stock geometry. Do not buy rings based on objective diameter alone.
Tools That Make Scope Mounting Cleaner
You do not need a full gunsmith bench to do the job right, but improvised tools create avoidable problems. A basic setup should include a correctly sized driver bit, a calibrated inch-pound torque wrench or torque driver, a level system, and a stable gun vise or rest.
Avoid using a large foot-pound wrench on small ring screws. Scope-ring fasteners are commonly tightened in inch-pounds, and overtightening can strip threads, deform the tube, or damage internal scope components. Check the ring, mount, base, and scope manufacturer instructions before applying torque. Their specified values override generic advice.
A small amount of medium-strength threadlocker may be appropriate on base screws if the mount manufacturer calls for it. Keep threadlocker away from ring screws unless the manufacturer specifically recommends it. Excess compound can migrate where it does not belong, and ring screws need consistent, serviceable clamping pressure.
Install and Torque the Base First
If your rifle does not already have a rail or base installed, begin there. Confirm that the receiver screw holes are clean and that the screws are the proper length. A screw that bottoms out in the receiver before clamping the base can feel tight while leaving the base loose.
Place the base on the receiver, start every screw by hand, then tighten them gradually. Torque the screws to the base manufacturer’s specification using the correct bit. Apply even pressure and keep the driver fully seated to avoid damaging the screw head.
After the base is installed, inspect it from the side and rear. It should sit flat against the receiver with no visible gap or movement. This is not a place to compromise. A loose base can mimic bad ammunition, poor shooting fundamentals, or a failing scope because the point of impact moves between groups.
Position the Rings or One-Piece Mount
Install the lower ring halves or one-piece mount on the rail without fully tightening the crossbolts yet. Place them far enough apart to support the main tube, not the objective bell, eyepiece, turret housing, or magnification ring. Rings should clamp around a straight section of the scope body.
For a bolt-action rifle, ring placement may be limited by the receiver and ejection port. For an AR-style rifle, use a purpose-built cantilever mount when needed rather than bridging rings across the upper receiver and handguard. The handguard can flex independently, which may cause shifting zero.
Once you have a workable position, torque the mount-to-rail hardware to the manufacturer’s stated value. On crossbolt-style mounts, push the mount forward in the rail slots while tightening. This takes up recoil lug clearance in the direction recoil will load the mount.
Set Eye Relief Before You Level Anything
Place the scope in the lower rings, lightly install the upper caps, and leave the screws just snug enough to hold the scope while allowing it to slide and rotate. Set magnification to the highest power. Eye relief is generally most critical at maximum magnification, where the field of view is less forgiving.
Shoulder the rifle in the shooting position you actually use. For a hunting rifle, that may be a seated or standing field position. For a precision rifle, it is usually prone or behind a bench. Move the scope forward or backward until you get a full sight picture without stretching your neck, crawling the stock, or seeing a dark ring around the image.
Do not set eye relief from an awkward upright bench position if you will shoot prone most of the time. Your cheek weld and head position change with the rifle’s intended use. Leave enough clearance to prevent scope contact under recoil, especially on lightweight rifles and heavier recoiling cartridges.
How to Mount a Rifle Scope Level
With eye relief set, level the rifle in the vise or rest. The best reference point depends on the firearm. A flat section of Picatinny rail is useful if it is square to the action. On other rifles, use a reliable receiver surface or a leveling fixture designed for the platform. Do not assume a stock comb or uneven bench is level.
Then rotate the scope until the vertical reticle aligns with gravity. A reticle leveler, plumb line, or verified bubble-level system can help. Looking through the scope at a plumb line downrange is a practical method because it confirms the reticle itself, not just the scope body, is vertical.
A slightly canted scope may not be obvious at close range, but it can matter as distance increases. When you dial elevation on an offset reticle, the correction can also shift the point of impact sideways. For a close-range deer rifle, a small error may have limited practical effect. For target shooting, long-range work, or repeatable dialed corrections, leveling deserves extra care.
Tighten Ring Caps Evenly
Once the reticle is level, tighten the ring-cap screws in a crossing pattern, alternating from side to side. Keep the gap between the upper and lower ring halves as even as possible. Do not run one side all the way down before touching the other.
Use the torque value specified by the ring manufacturer. Many shooters damage scopes by assuming tighter is better. It is not. Proper torque holds the optic under recoil without crushing or distorting the tube. If the ring maker gives a sequence or specifies front and rear gap differences, follow that instruction.
After tightening, recheck eye relief and reticle level. It is common for the scope to rotate slightly as the cap screws seat. Correct it now, not after you have fired a group and started adjusting turrets.
Final Checks Before Zeroing
Cycle the action and verify that the bolt, charging handle, or ejection path does not interfere with the optic or mount. Check that magnification and illumination controls operate freely. Confirm the scope is not contacting the barrel, handguard, rear sight, or any moving part of the rifle.
Then bore sight the rifle. A laser bore sighter can speed up the process, but looking through the bore on a bolt-action rifle can also get you on paper. With the rifle securely supported, center a distant target through the bore and adjust the reticle toward that same point. This does not replace live-fire zeroing, but it reduces wasted ammunition and saves time at the range.
Fire a careful group using a stable rest and the ammunition you plan to use most often. Adjust from the group center, not from a single shot. Once zeroed, confirm the mount screws are still at spec after the first range session and periodically thereafter. Paint witness marks on mount hardware can make movement easy to spot during inspection.
A well-mounted scope should disappear as a concern. Your eye finds the image naturally, the reticle stays square, the rifle holds zero, and your attention stays on the target. Use compatible mounting hardware, follow the torque specifications, and verify the setup with real rounds before relying on it in the field or for defensive training.